Run Jupyter Notebook from AWS EC2
This is a tutorial adapted from Chris Albon’s found here, and either directly copies or follows it very closely. There were a couple of things that I needed clarification for, so I wanted to make sure I wrote everything down in the event I need to go through this process again. The thing I learned is that this will only work if you do literally everything exactly as shown on this page.
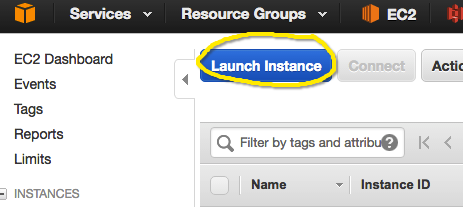
Assuming you have an AWS account, go to the EC2 page. If you’re on the EC2 Dashboard page, click on Instances under the main Instances sidebar menu. Once on the Instances page, hit the big blue Launch Instance button.
Select Ubuntu

Select t2.micro– the only free tier eligible option

…and then hit the Next: Configure Instance Details at the bottom right corner. This will direct you to a page that says Step 3.

Don’t change any settings, but keep hitting Next: in the bottom right corner until you reach Step 6: Configure Security Group.

Make sure that everything matches the above image,
Especially Port Range and Source–Anywhere. Ignore the warning that shows up about the source. You should have a password protected key pair so you’ll be fine.
Hit Review and Launch, and then Launch on the Step 7: Review Instance Launch.
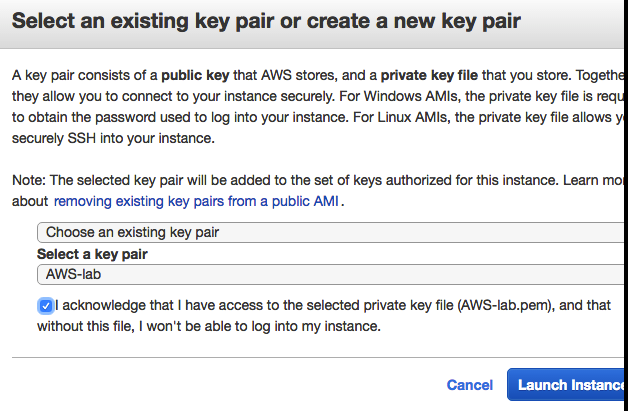
Key pair
Assuming you already have a key pair that is password protected, select your key pair and launch. If you don’t have a password protected key pair, find more info here.
Launch Status
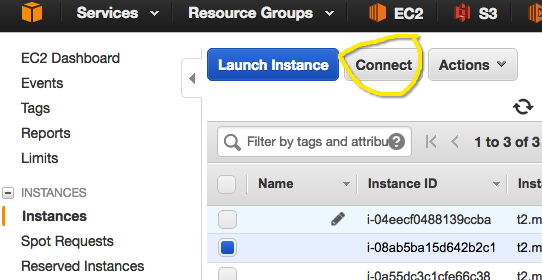
At the bottom of this page, hit the big blue View Instances button, and you’ll be directed back to the Instances page. With your instance selected, hit Connect.
Get Connection Details
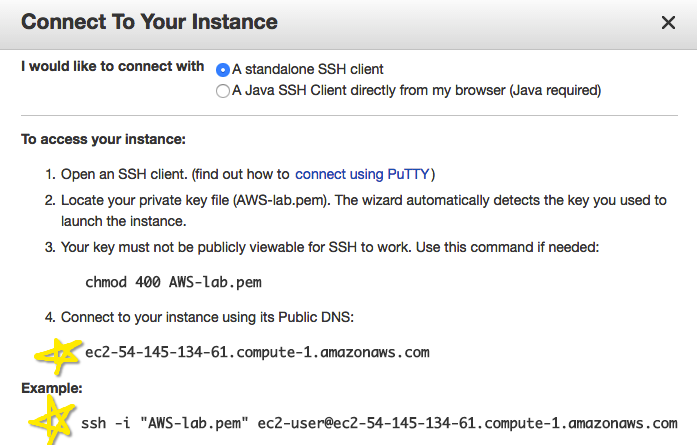
Open up a text file, and copy/paste the two lines starred below. The first line, your Public DNS, will be used later for typing in a URL, and the ssh line will be used to actually connect to your instance.
Kill Active Kernels
Look in any of your opened terminal windows, and make sure that any/all potential kernels running jupyter notebook are killed. They’re using your locathost port 8888, which we need for the EC2 connection.
Connect!
If you’ve set up an ssh key before, you should have a .ssh folder presumbly located here: Users\yourname.ssh. In a new terminal window, cd into .ssh, or wherever your key pair exists.
Paste the line in your text file beginning with ssh. the numbers after the @ are specific to your instance, so it won’t work if you type in the connection below.
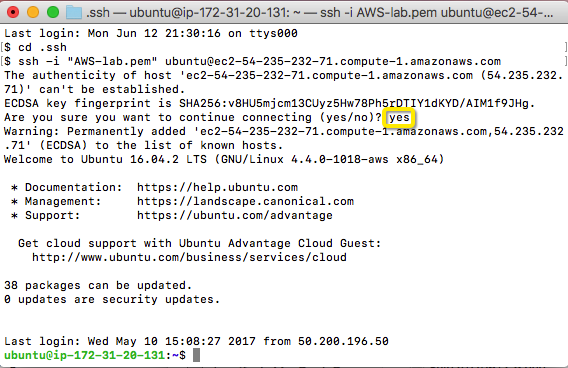
You’ll be asked if you want to continue connecting, shown above. Type yes and hit enter.
Download Anaconda
In the same terminal window, copy and paste the lines below to install Anaconda. If you are so inclined to get the most recent version of Anaconda, [click here]https://chrisalbon.com/jupyter/run_project_jupyter_on_amazon_ec2.html for directions.
wget https://repo.continuum.io/archive/Anaconda3-4.2.0-Linux-x86_64.sh
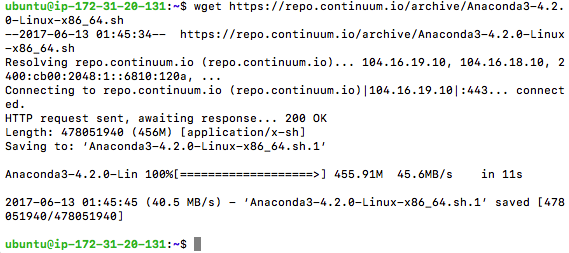
Once you see ubuntu@ip#####:~$, the command has finished running. You can then paste in the following line:
bash Anaconda3-4.2.0-Linux-x86_64.sh
Note that if you downloaded a different version of Anaconda, you’ll have to change the version in the line above.
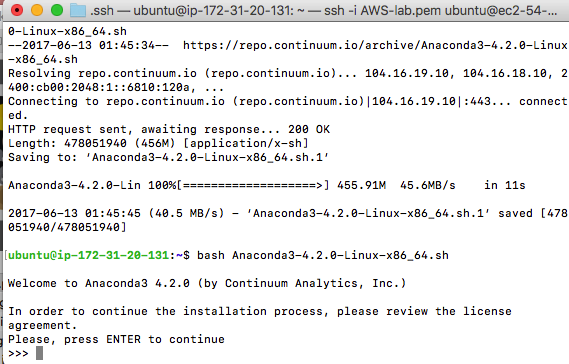
It will ask you to hit enter, so do that. A bunch of text describing the licensing will show up, and you just have to hit the spacebar 4 times to skip through it all (or hit enter if you want to read it all). Stop when you see:
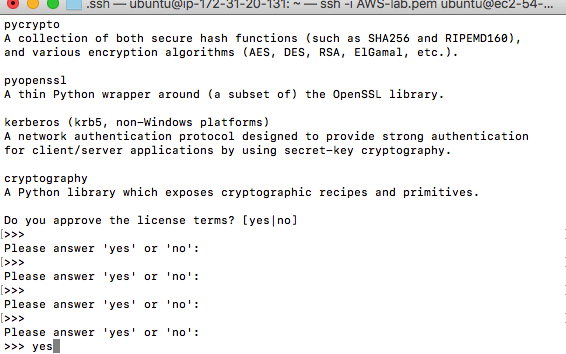
If you held down the enter button, or hit the space bar more than 4 times, you’ll see what happened to me above–it keeps asking for ‘yes’ or ‘no’ as your agreement. Type yes and hit enter.
After it finishes downloading, you’ll be prompted to add it to your PATH, so type yes and hit enter.

Configure Environment
which python /usr/bin/python
source .bashrc
Create Jupyter Notebook password
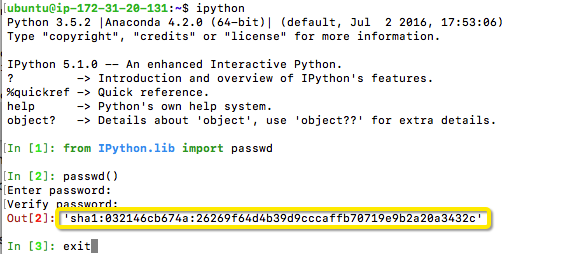
Get your text editor ready. Copy/paste these lines:
ipython
from IPython.lib import passwd
passwd()
You’ll be prompted for a password, so type in any password, then verify. Copy/paste the output to your text file as this is how you’ll refer to your Jupyter Notebook password.
Settings
Create a config file & certificates for https. You can paste this whole block at once.
jupyter notebook --generate-config

mkdir certs
cd certs

sudo openssl req -x509 -nodes -days 365 -newkey rsa:1024 -keyout mycert.pem -out mycert.pem
You’ll be asked several questions from the sudo openss1… command, so answer them.

Edit config file
cd ~/.jupyter/
vi jupyter_notebook_config.py
Hit enter to add a line at the top of the file, and then paste the following after you replace ‘YOUR JUPYTER NOTEBOOK PASSWORD’ with your own password.
c = get_config()

# Kernel config
c.IPKernelApp.pylab = 'inline'  # if you want plotting support always in your notebook

# Notebook config
c.NotebookApp.certfile = u'/home/ubuntu/certs/mycert.pem' #location of your certificate file
c.NotebookApp.ip = '*'
c.NotebookApp.open_browser = False  #so that the ipython notebook does not opens up a browser by default
c.NotebookApp.password = u'YOUR JUPYTER NOTEBOOK PASSWORD'  #the encrypted password we generated above
# It is a good idea to put it on a known, fixed port
c.NotebookApp.port = 8888
To save and exit, first hit esc then shift+z, and again hit shift+z.
Almost Done…
Copy/paste:
cd ~
mkdir Notebooks
cd Notebooks

# open up a clean screen, which we can then jump out of once the kernel start
screen
Hit Enter,then type:
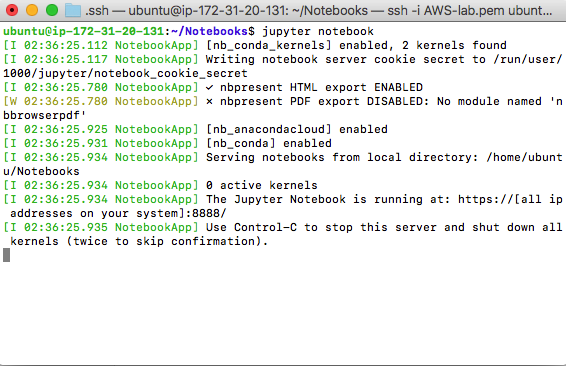
jupyter notebook
You’ll see the following, at which point you can hit CTRL+A then D to leave the screen and go back to the prior screen.
Launch
Now we’re ready to launch Jupyter Notebook! Your URL will be the first thing we pasted into the text file, the line starting with ec2…
The format is https:// + your instance ID ec2-##-##-###…. + :8888.
Once you paste that into your browser, it will tell you that the page is unsafe.
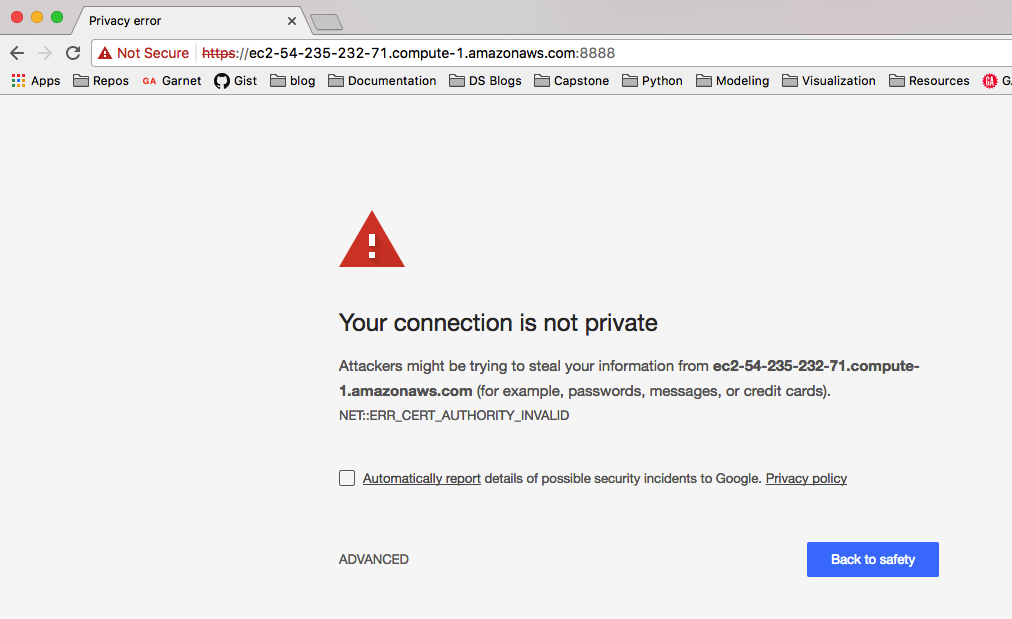
Hit ADVANCED in the bottom left corner, and proceed.
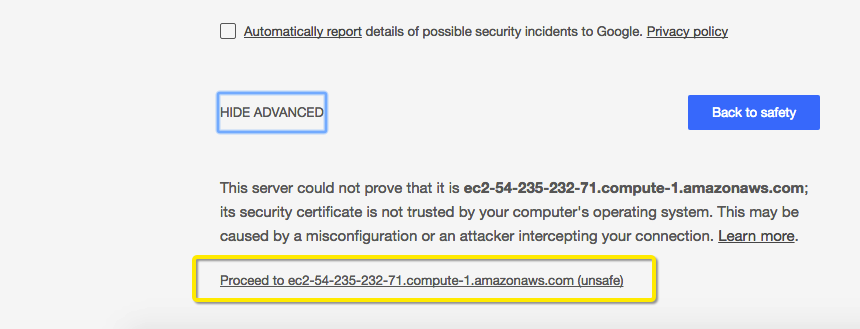
You’ll be prompted for a password, which is the one you set earlier. It won’t be the encrypted version that you pasted into the config file, but the actual password. Now you should be all set up!
To avoid having to go through this ever again: Create a snapshot.
Back in the AWS console, click on Snapshots.

Click on Create Snapshot

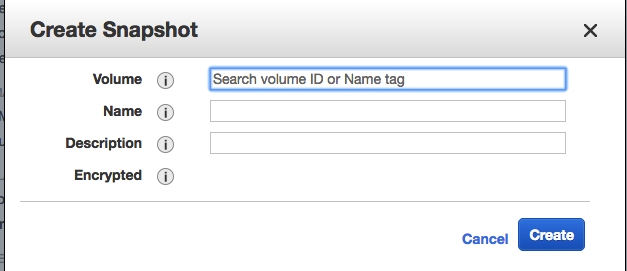
In the window that pops up, click in the textbox for Volume. There should be an autofilled ID that you can click on.

Name it, then hit Create. You now have a snapshot of the instance that we just set up.
Stop Instance
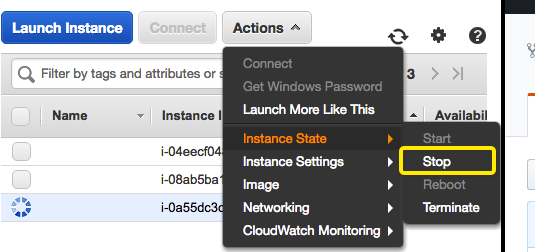
When you’re finished using your instance, stop it. Go to the Instances page and check the box of your instance, then hit Actions > Instance State > Stop
